Here’s my latest batch of decorated Halloween pumpkins! If you remember the pic from a previous post showing personalized pumpkins, these were created for the same family.
It’s also the same client that I created the Halloween birthday invitations for using the mummy cookies in black coffins.
Which is why I thought the spider web theme would work well.


Here’s the DIY Instructions and supplies: You’ll need regular acrylic paint for the background and gloss acrylic paint for the lettering, and gloss yellow green paint for the spider and bat eyes, a pencil, a few different sized brushes and transfer paper.
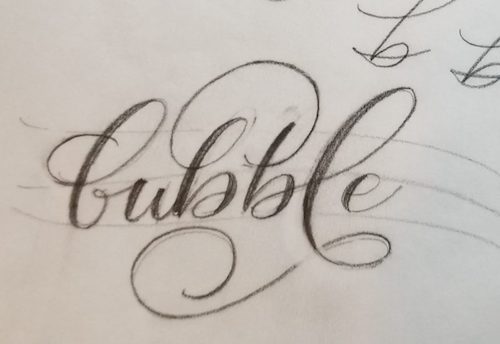
( If you want to create this style of lettering, you’ll need a 1/2″ flat brush.)

1. Copy and Save the image of the lettering style above and follow the arrows to create the strokes needed to make the letters.
If you are not comfortable trying to do the lettering yourself, you can trace the letters above. Or use a font to create the names in Microsoft Word. Here’s a link to some free fonts that would work well: Ghoulish, Nightmare, Rocky would all be good choices.
(To download, click on the apple icon for a Mac and the Windows Icon for PC. If you don’t know how to add a font to your PC- just Google the question.)
2. Once you’ve created the names either by tracing or printing from your computer, make sure they will easily fit on to the pumpkin of your choice.
3. Using a pencil, draw the background design around the are where the name will go. Make sure the name will fit inside the area. I used bats and spider webs for my backgrounds.
4. Using regular acrylic paint, fill in the background area with a large brush.
5. Once the paint dries, tape the piece of paper with the name on it onto the pumpkin. Using transfer paper, which can be purchased at any craft store, trace the letters onto the pumpkin.
6. Paint the letters with gloss acrylic paint using an appropriate size brush. Add spiders, webbing, and eyes as needed.
That’s it!
Enjoy this beautiful fall day!
Debi

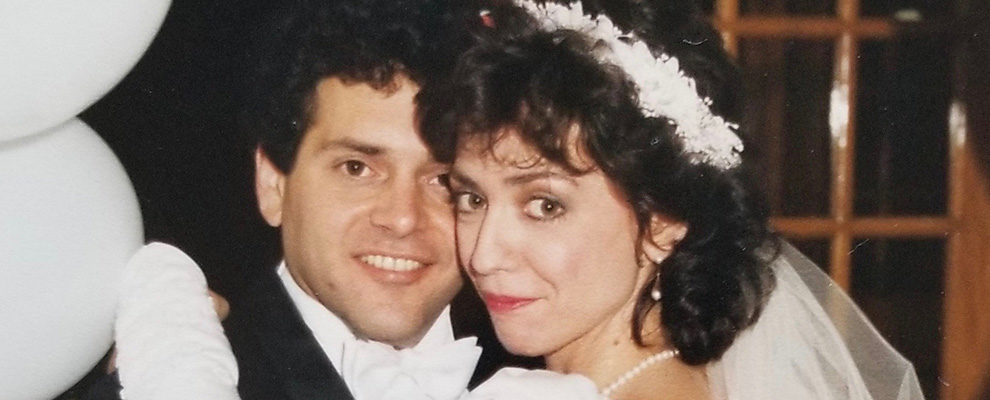
This is a sample of my soon to be released fon “DomLovesMary” in use with special flourishes and “Add on” word.
The font family features three different versions of the alphabet, a set of “Add Ons” that will include words like “and, to, of, for, at, etc…in addition to 124 flourishes to be added to either the upper or lower case so you can create your own custom look!
It will be released on myfonts.com on my Correspondence Ink foundry page.
I’ll be sponsoring a give away of a wedding item using the DomLovesmary font on Brenda’s blog soon. Subscribe to my blog to get the details.
In the meantime, my first cursive font, Belluccia is still available at myfonts.com and fontbros.com..

Belluccia was named one of myfonts Most Popular Fonts for 2011.