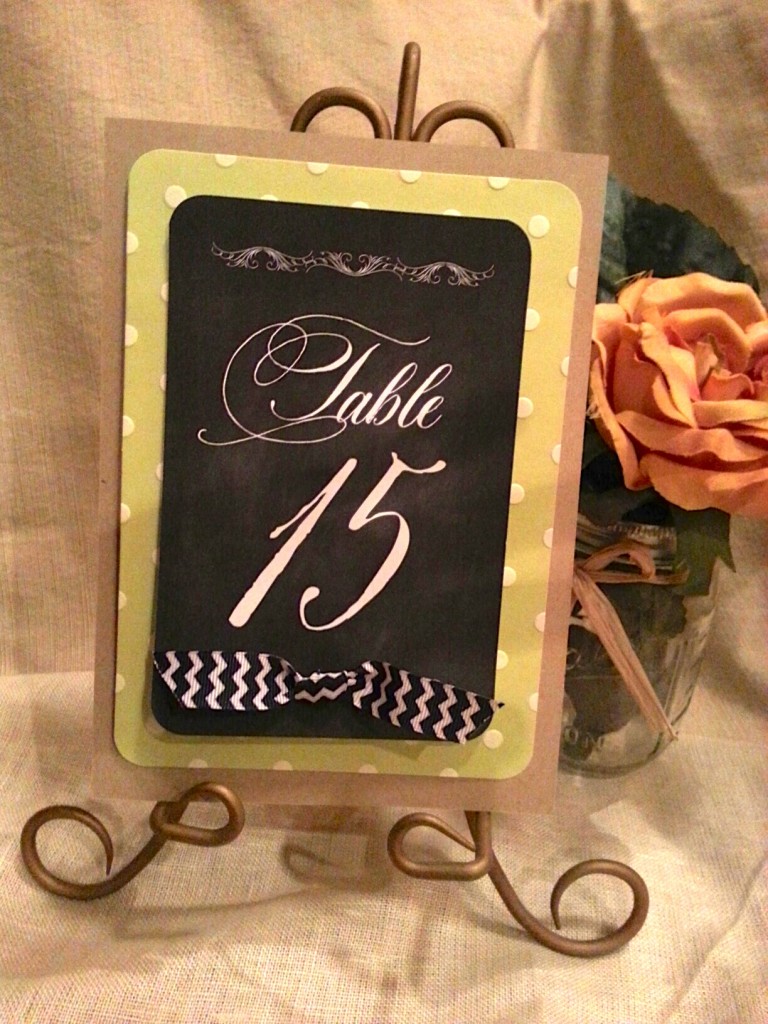
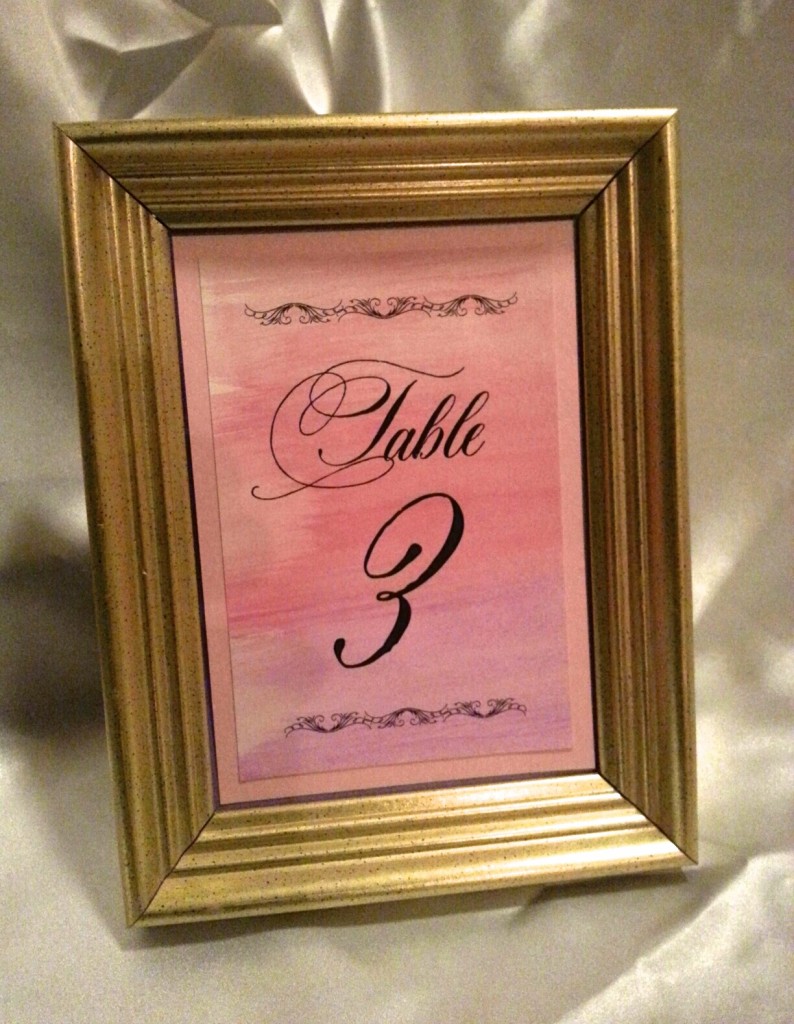
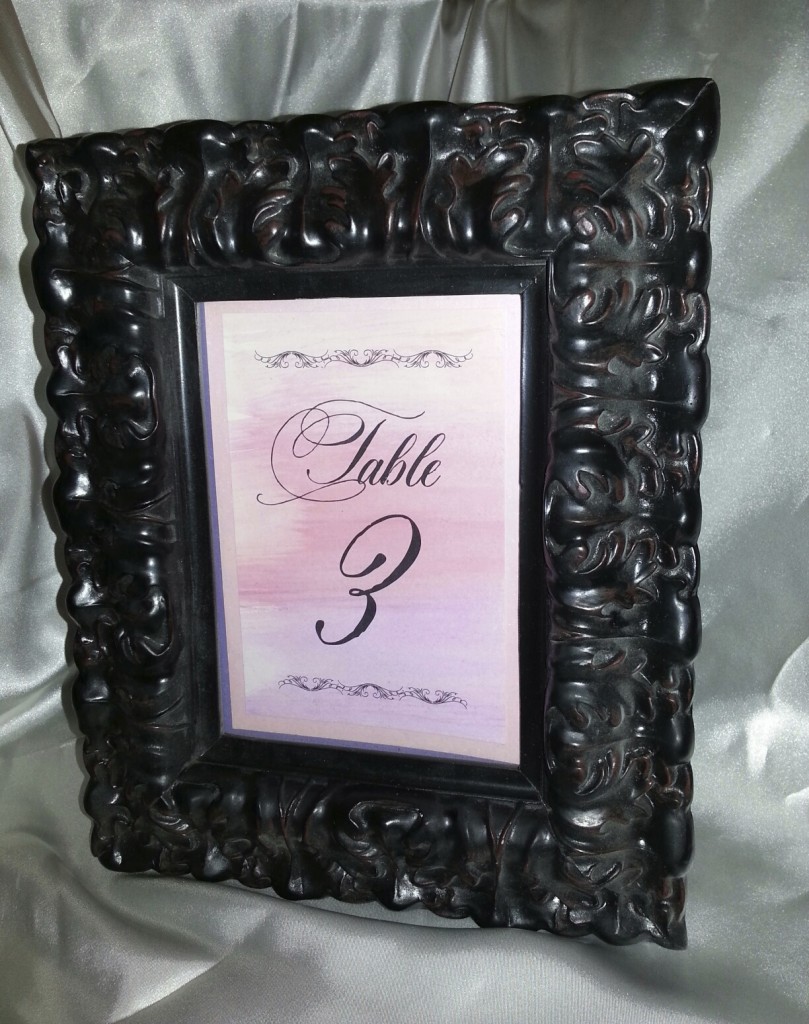
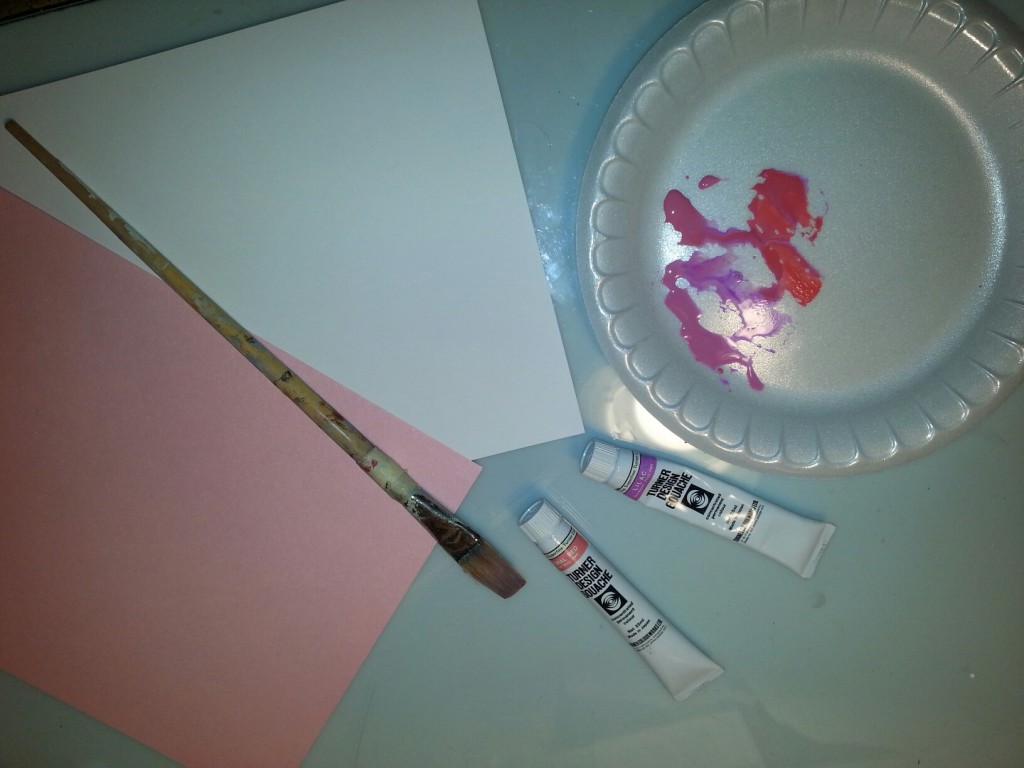
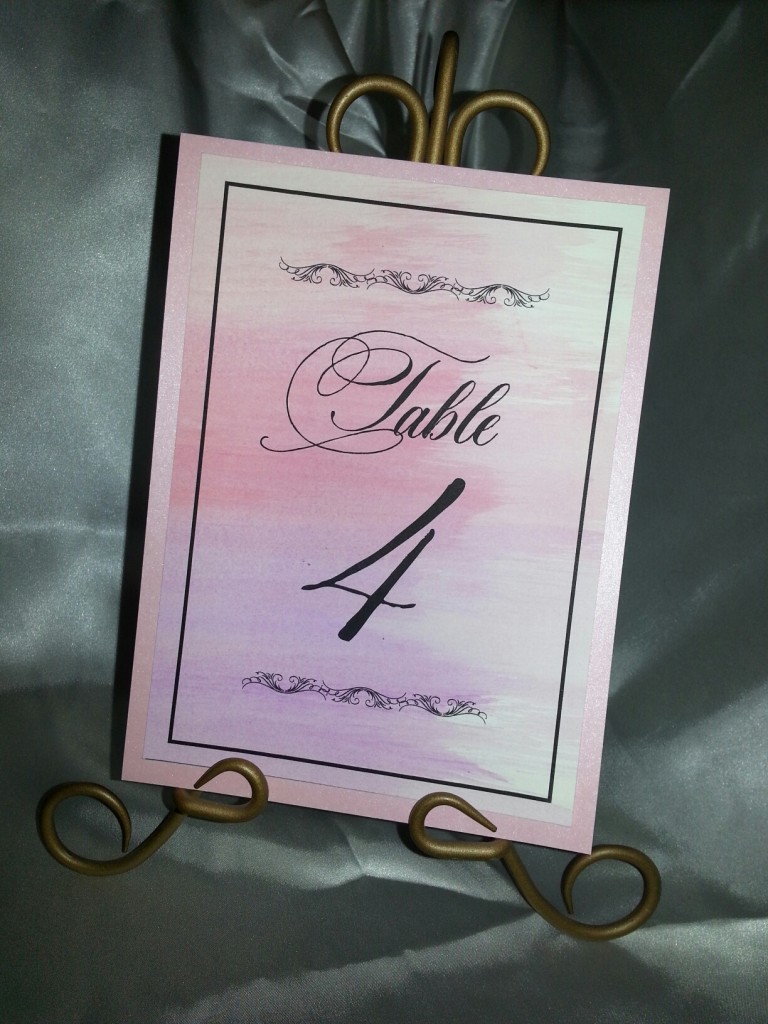
This DIY flower table number tutorial will take you step by step through the process of creating these floral cards for your table.
These were just my small contribution to a big Dallas wedding planned by Colin Cowie of Oprah fame.
Once again, DFW Events, the impeccable party planner, was the local coordinator.
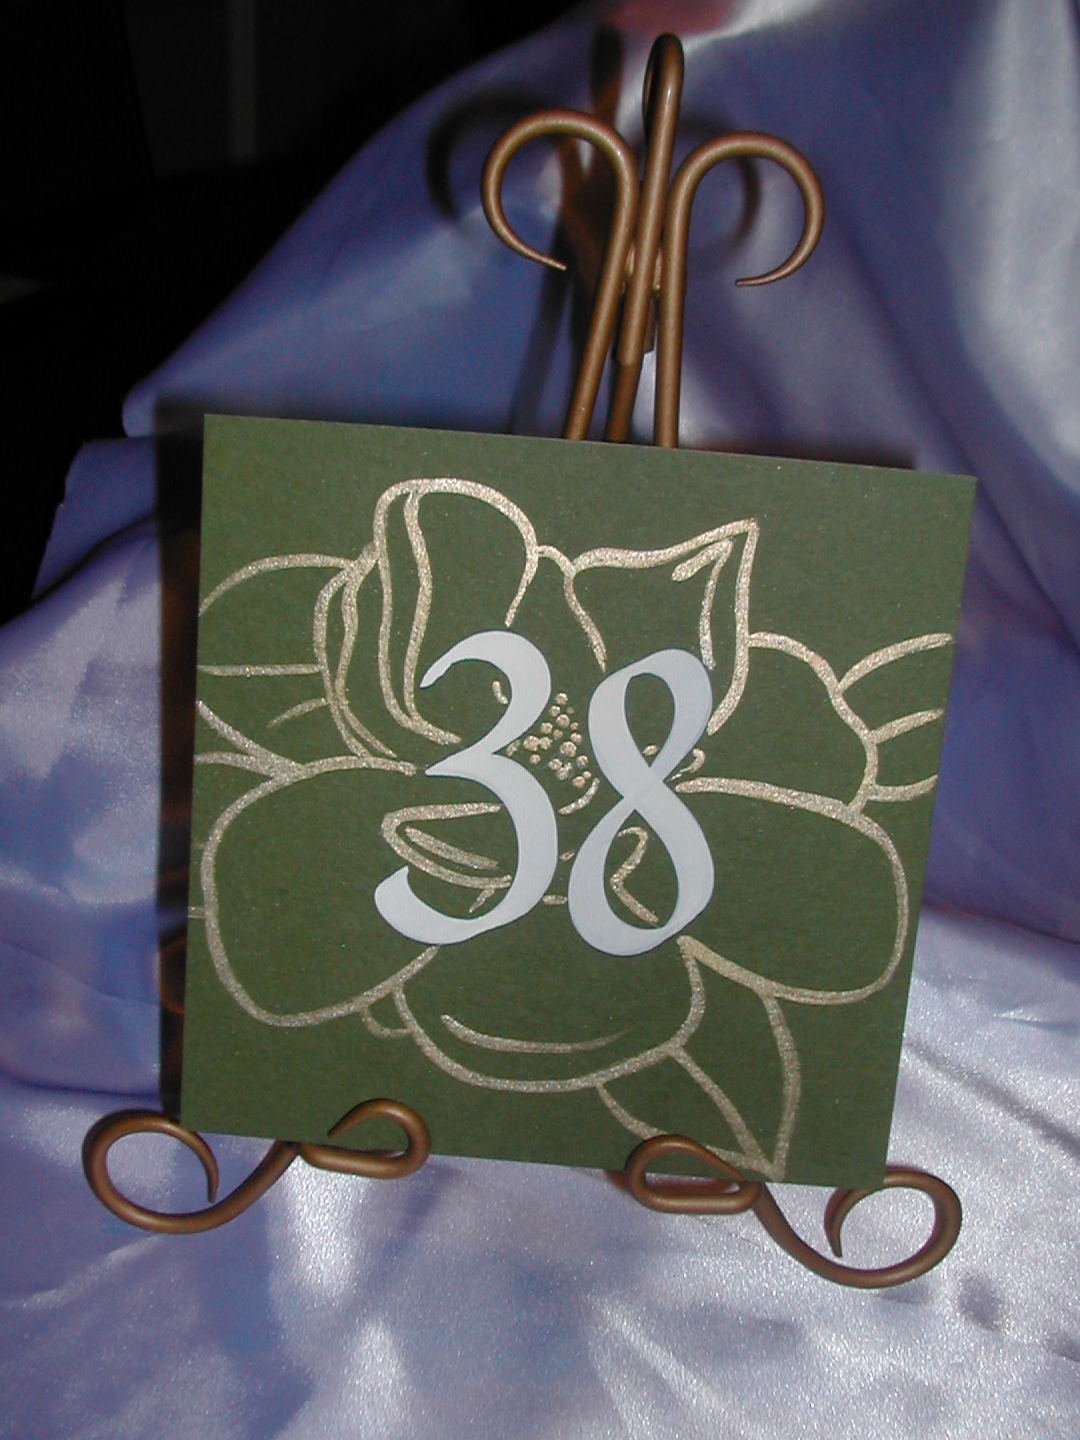 The bride loved magnolias so they were a featured part of the event.
The wedding colors included both gold and silver paired with this beautiful green.
So I created a special mix of both metallics to hand illustrate the magnolia in back of the numbers, which were done in an off white.
Of course the numbers were brush lettered by hand but I’m going to let you know how you can create these even if you aren’t a lettering artist.
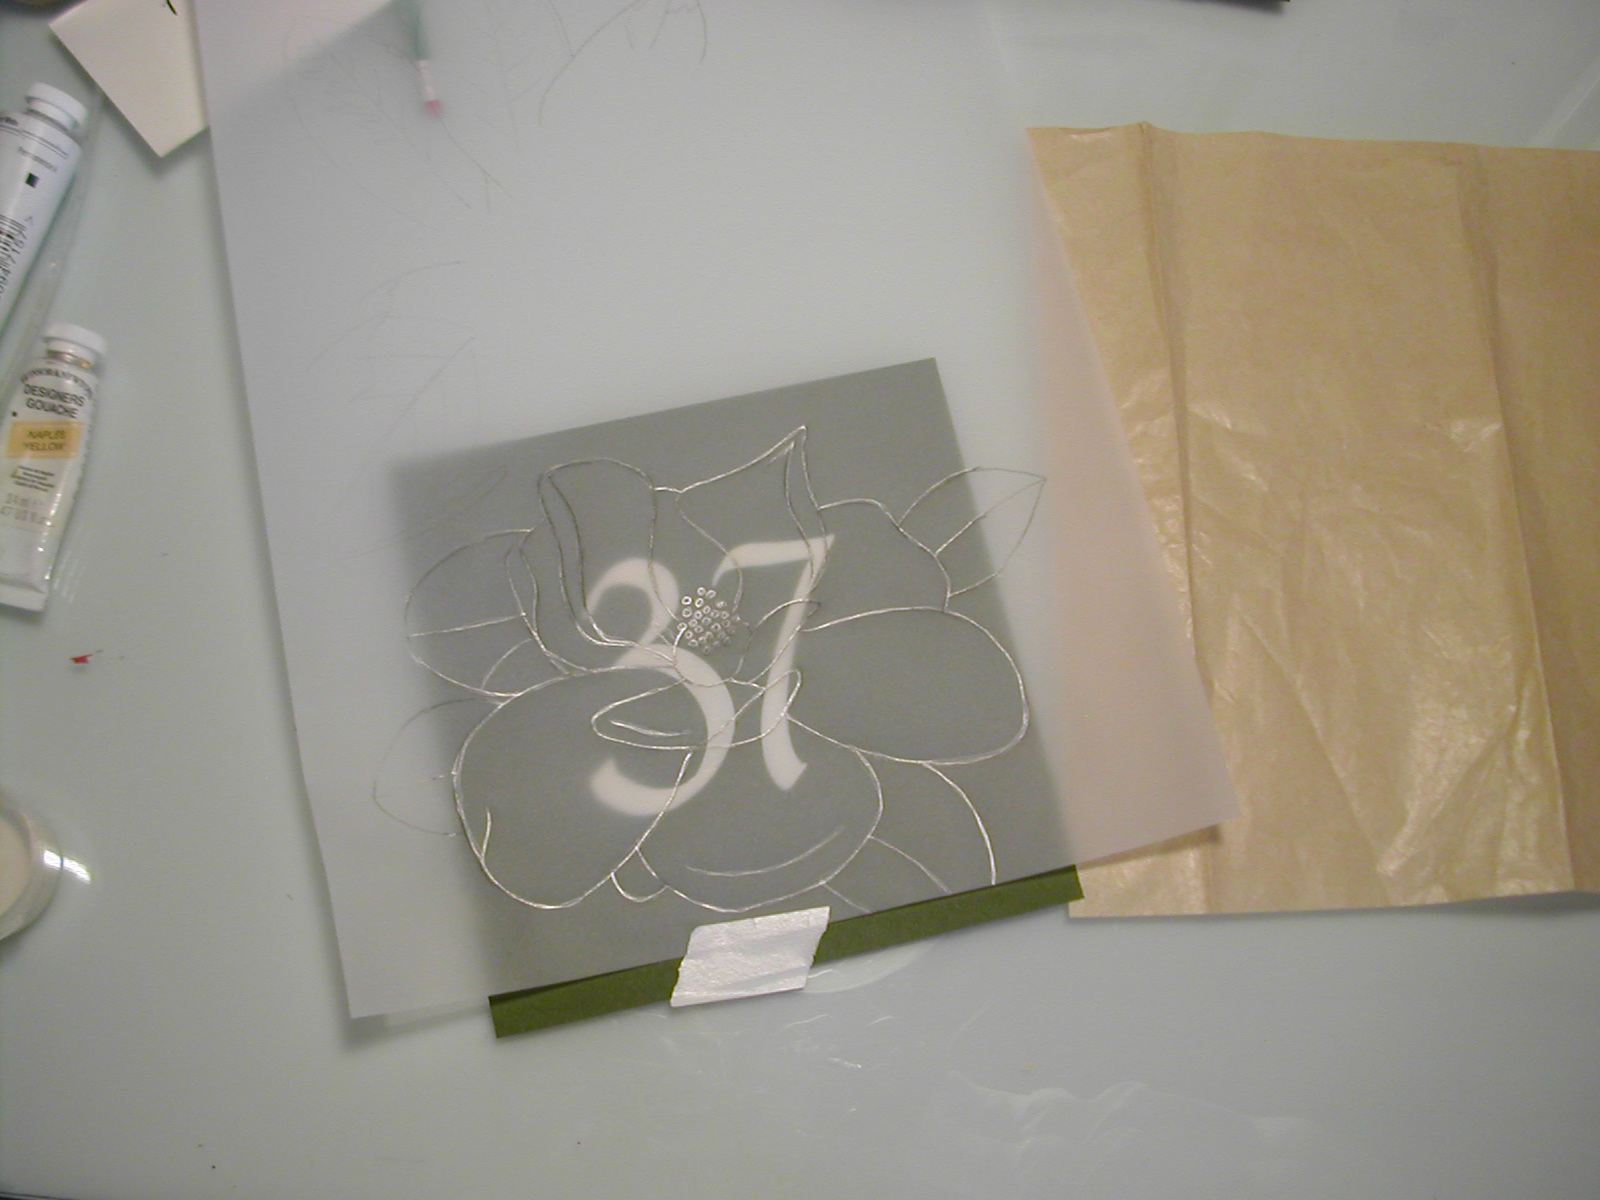
Your going to use the same process for both the numbers and the flowers.
If you’re a lettering artist, use a flat brush and gouache paint to letter the numbers. I used a 1/4″ Scepter Gold II brush and a guide ( see in pic below) to help me center the numbers.
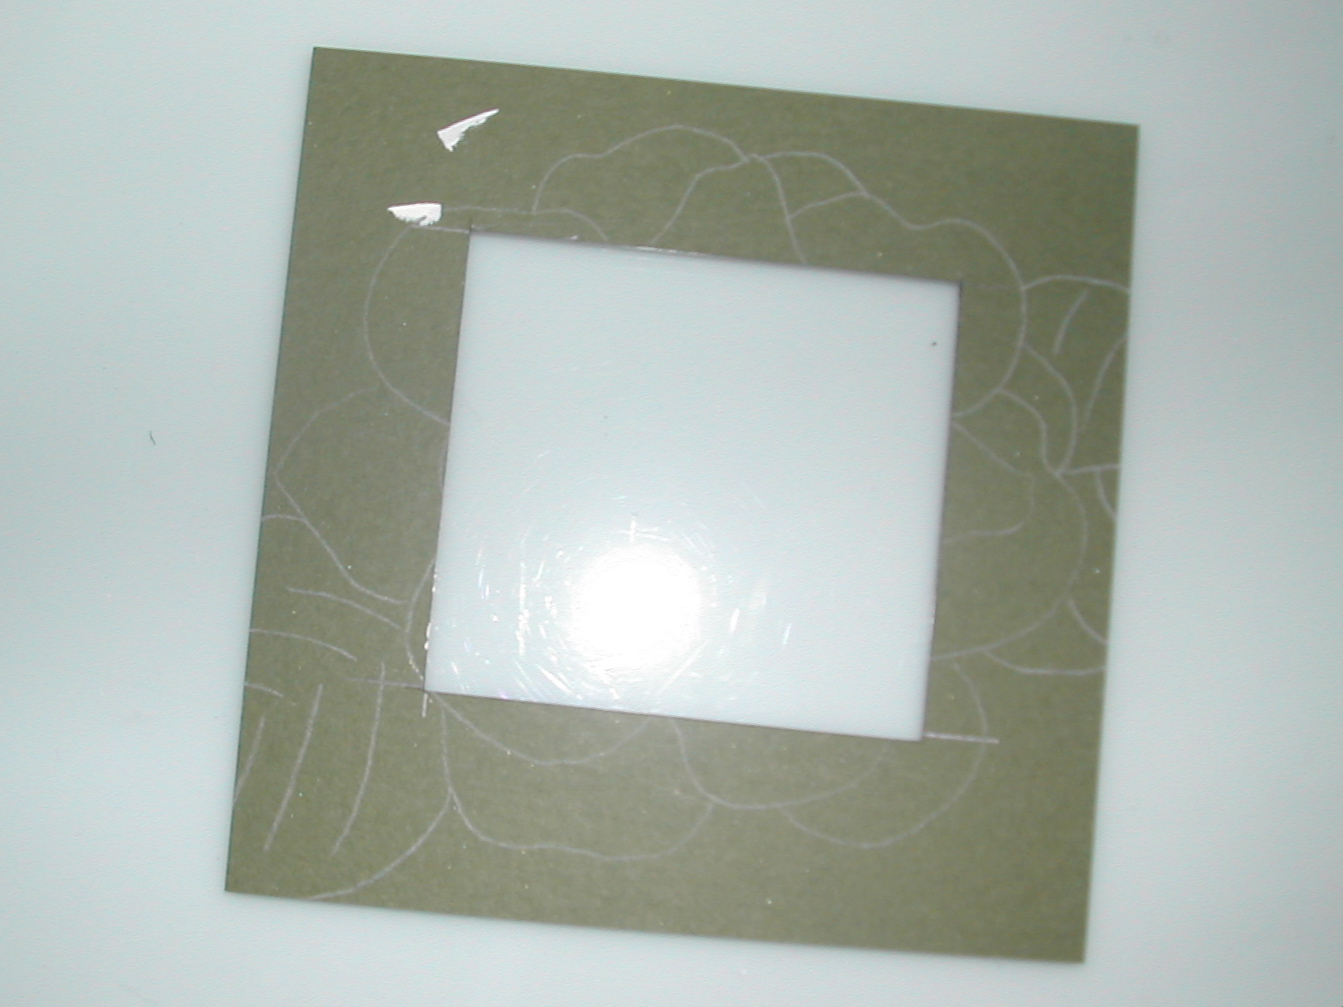
If your not a lettering artist, find numbers you like from a favorite font. Size them up on the computer so they will fit nicely in the center of your paper.
Print and trace onto tracing paper.
These cards are 6″ square heavy card stock provided by the client.
If you want double sided cards, I suggest making two separate sides and adhering them with double sided tape so they will be stiffer and stand up better.
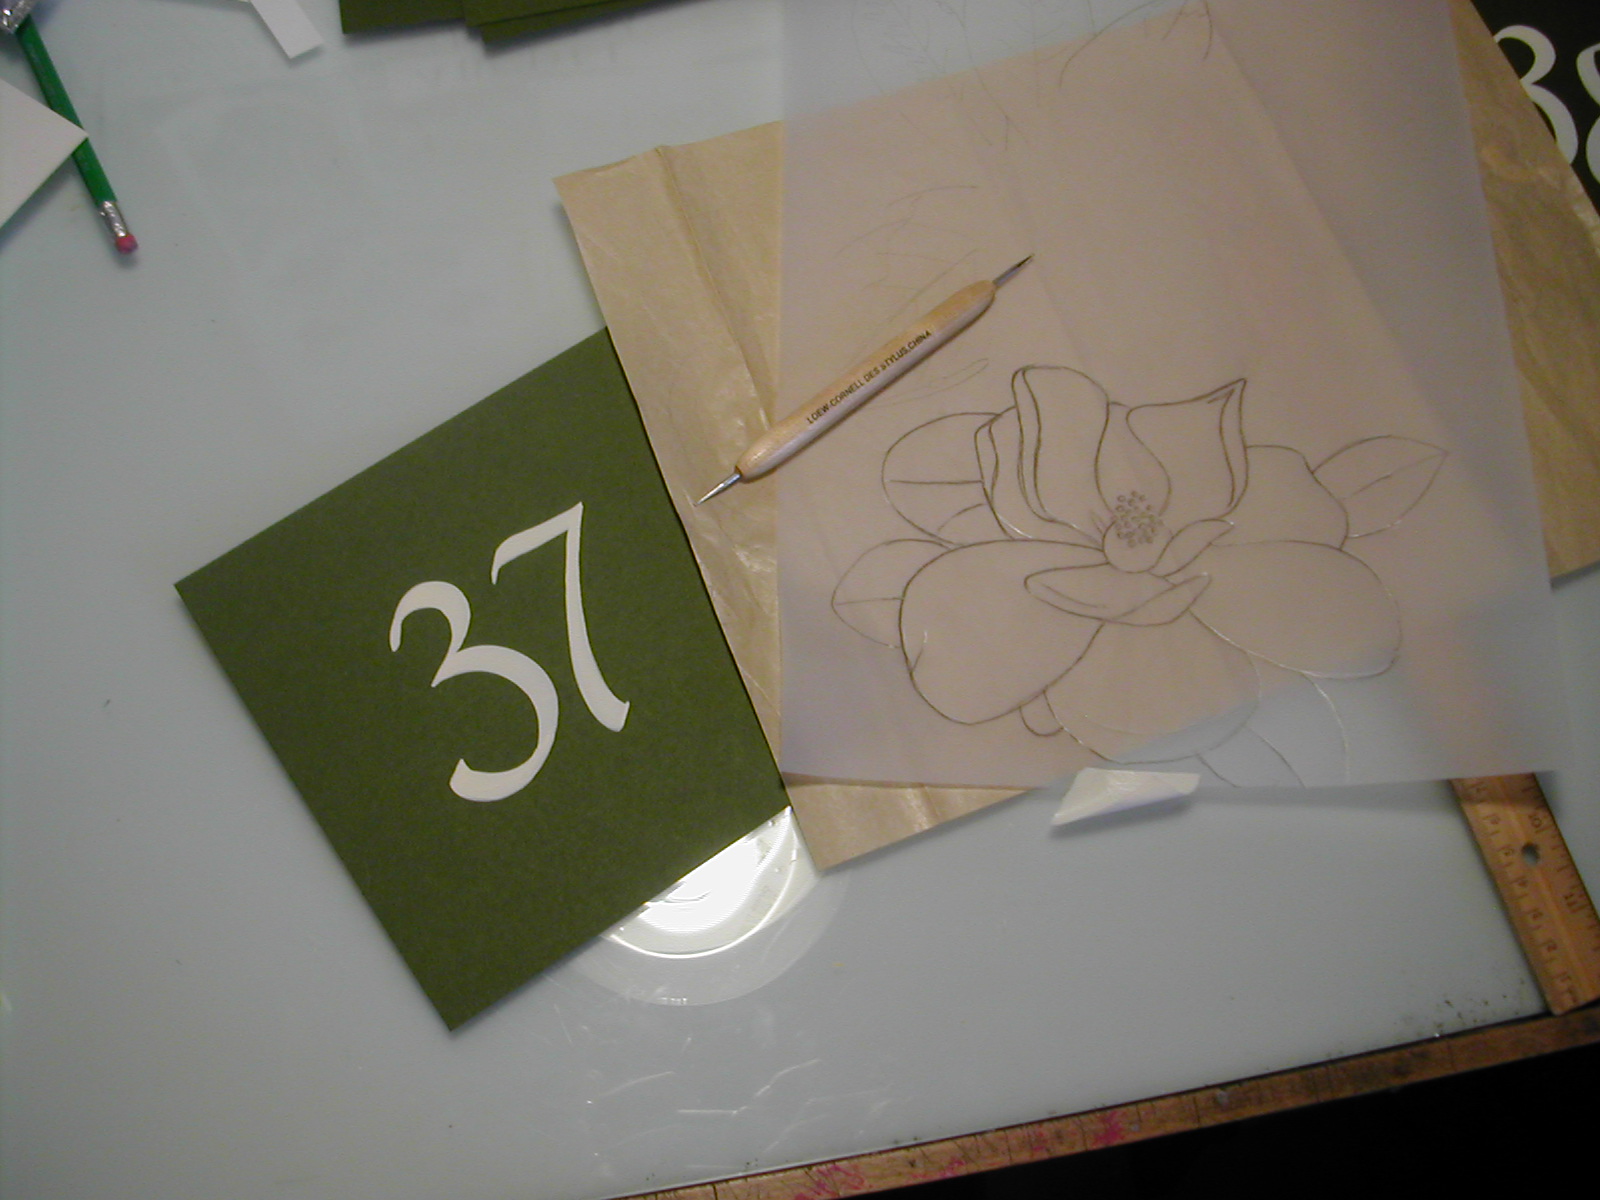 .Next use transfer paper ( I used white since I had dark paper) and LIGHTLY outline the numbers onto the card stock using a pencil or stylus, as shown in the pic. (Available at any craft store.)
You can use the guide as seen in one of the pics above for centering.
Fill in numbers with gouache paint ( water based paint found at art stores) acrylic paint or paint pens.
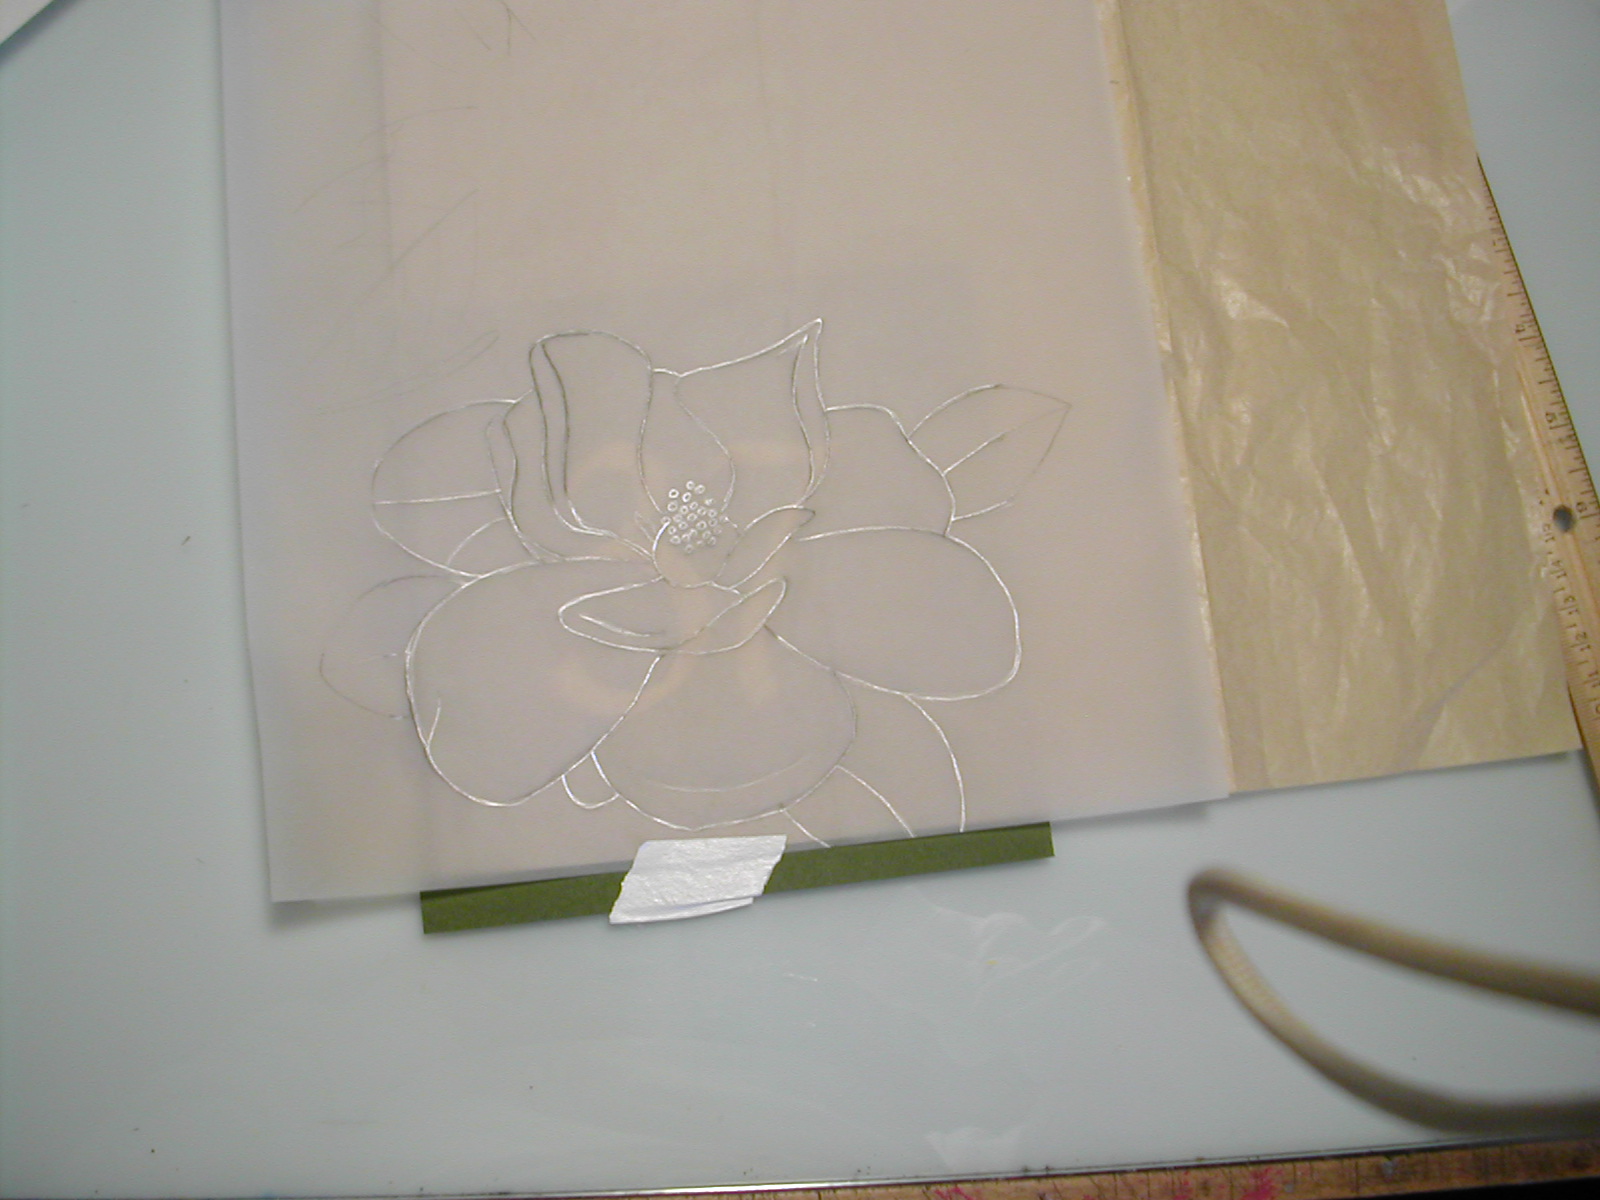
Now do the same thing for the flower of your choice. Find a picture of one you like on the internet, ( There’s lots of sites about flowers that you can use so you don’t end up with copyrighted material.)
Download it, size it on your computer , print it and put it on tracing paper. Or you might find a picture you like in a gardening magazine or the garden section of the newspaper.
Make sure to line the flower up over the number before inserting the transfer paper in between and LIGHTLY tracing.
Here’s an important note: Transfer paper has a wax like substance to it, so when you trace it onto the card be sure not to trace on top of the numbers.
Otherwise, you’ll end up with lines on the numbers that will not erase.
With a round brush ( You can get an inexpensive one like the Loew-Cornell Soft Comfort 14000 Round at JoAnn fabrics) brush over the traced lines of the flower with whatever color you desire.
Again goache or acrylic paint will work. If you want a finer line, or don’t want to mess with a brush, try a paint pen.
The gold and silver I used was a combination of gold gouache with gold and silver Schmincke brand powders mixed together.
Even if you just create them for the bridal table, it will add a beautiful look to your table!
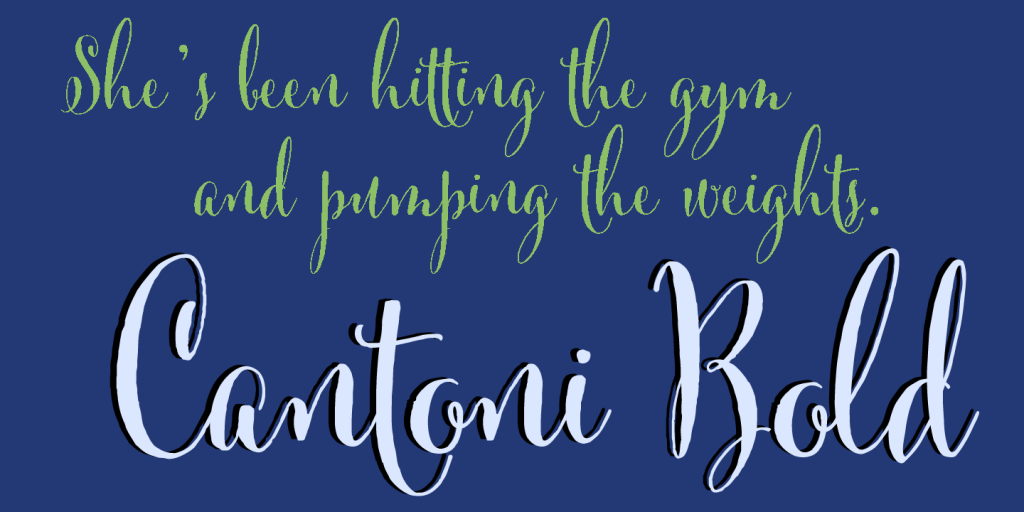
I’m almost done with the hand lettering part of my new calligraphy font. Excited to get to the next part- digitizing!
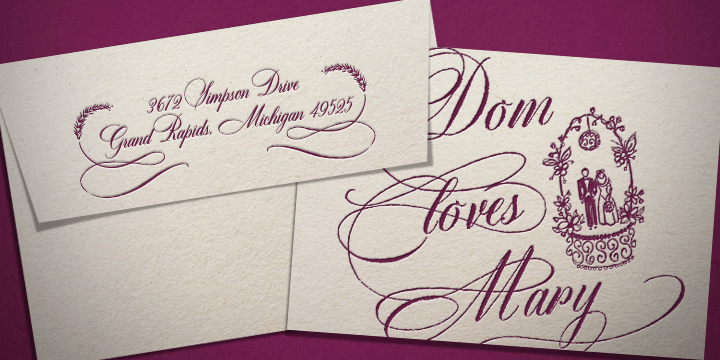
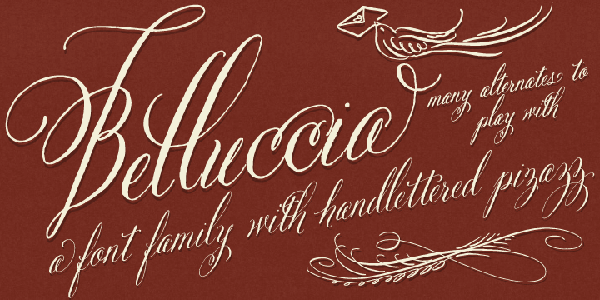
Check out my current two calligraphy fonts Belluccia and Dom Loves Mary here.
Belluccia has remained on the Best Sellers list for 19 months was named one of Myfonts Most Popular Fonts for 2011 and is available at myfonts.com.

My second calligraphy font, Dom Loves Mary (a “December Rising Star” and 2012 Best Seller) is also available on myfonts.com.
Wishing you a Tickled Tuesday 🙂
Debi
